My previous ski boots were 2012 Dalbello Il Moro Ts. I loved these boots, but they were a bit big, the liners were getting packed out with age, and they were too narrow across the forefoot. I also wanted something that I could use for touring.
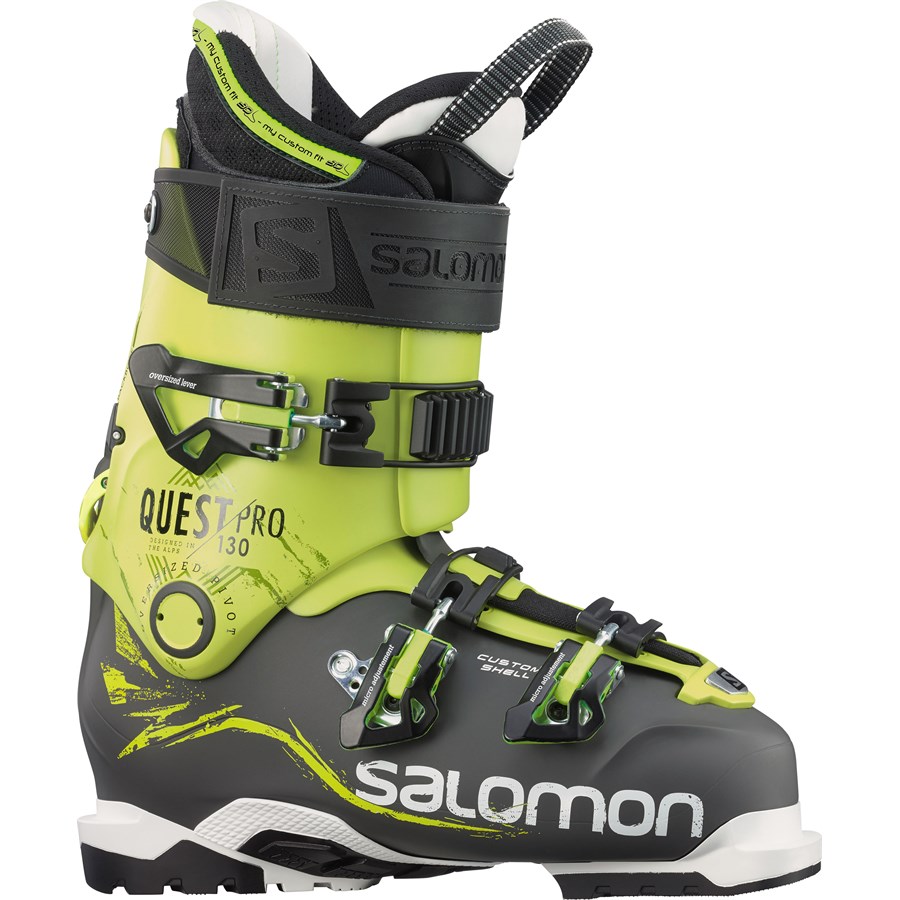
After much research on hybrid boots, I was attracted by Salamon’s Quest range. I picked up a pair of 2016 Quest Pro 130s, Salomon’s top-of-the-range hybrid freeride boot, at the end of the 2015/2016 ski season, and first skied on them at the start of the 2016/2017 season, so they are just coming up for the end of their third season.
Hybrid boots are a compromise, but I wasn’t quite ready for how much of a compromise they were.
Construction
The shells are made of Salomon’s “Custom Shell” plastic that is thermoformable – I was keen to make use of this to make sufficient space for my wide feet. The liners are Salomon’s high-end “My Custom Fit Race” model, which are mostly thermoformable, though not quite in Intuition territory. The net result is a boot that can be thermoformed with the liners in, which is a recipe for a good fit. That said, I’ve still found that they are a little tight across the forefoot, despite having that area punched out to some extent when I first got them fitted. I got moulded foot beds from a sports doctor in Chamonix that specialises in boot fitting, and they have been great.
The boot has 3 clips, which are well designed, with long levers to help do them up tight, and a very chunky booster strap, which makes up for the lack of a fourth clip to some extent. The middle clip has two different mounting positions, and I found the rear one made for much better fit and heel retention.
The traditional overlap design means that they are pretty difficult to get on and off. This is partly a result of the thicker plastic which is needed to get the 130 flex rating, but makes it harder to pull them open enough. This is one things Dalbello’s “Cabrio” design is plainly better at, and a different planet to my old Salomon SX92s, which I could put on do up perfectly in under 3 sec!
One big win for these boots is the weight – at 1.4Kg each, they are very light for high-performance piste boots, though still relatively heavy for touring.
On-piste performance
These boots have a very stiff 130 flex, which I’m fine with (I’m a very fast, aggressive skier), but they’re also very upright, and the two combined makes it difficult to get your weight forward far enough, and you have to fight the flex to bend the boot sufficiently; Maybe I just need to put on some weight! I found it difficult to get them tight enough to give full-on control without making my feet ache or go numb, but generally they were ok, though overall not a patch on my old Dalbellos. The upright stance also makes it harder to get low enough at very high speeds, resulting in your weight being too far back, which reduces control and can be quite scary! I think a softer flex, perhaps 110 or 120, would have worked better for me for this kind of boot as I like to have a lot of forward lean, but the upright stance is a fairly necessary part of the hybrid design compromise.
Touring performance
I’m not into ultra-lightweight or long-distance touring – I’m usually doing the up for the down, rather than to get somewhere, so weight isn’t a big concern, for either my skis or boots, but the light weight of these boots was a definite plus anyway. My touring skis are Wedze Samurais (178/99) with Tyrolia Adrenaline bindings. They are not bad – a bit flappy on the down, but ok on the up, great in soft snow, and the bindings are very solid and reliable (unlike my experiences with Diamir Fritschi Freerides, which I’ve broken 3 different ways). The boots have a walk mode, which is vital, and you can undo the top clip and strap to give maximum movement, and there’s an oversized pivot to keep the cuff laterally stiff while allowing easy fore & aft motion. The range of motion really isn’t quite enough though, and I found it resulted in quite an uncomfortable walking motion. When undone, the top clip sticks out and gets in the way of trouser legs. Despite the moulded liners and multiple precautions, I got terrible blisters on the sides of my heel on both feet – my first 2-hour outing was so bad that I ended up at the hospital needing antibiotics, and could barely walk, let alone ski, for a week! I have never had a pair of touring boots that didn’t give me blisters, so either I’ve always had the wrong boots, or my feet are weird. Overall I think I could live with the limited range of movement for tours of < 4 hours, but the blister thing was a showstopper. This has really prevented me from doing much touring at all, which is a shame as that’s 50% of the reason for having hybrid boots in the first place.
She canna take any more, Captain!
In the middle of the 2018-2019 season, I noticed that the right boot had developed a crack in the shell, right over the top of the foot in the overlap area.

This is at exactly the point where an overlap boot has the most stress, but there is no concession to that in the design, and the plastic tapers to a thin flange that is relatively easy to tear. Because this is an integral part of the lower “clog” part of the boot, this is fatal and there’s no way to repair it. Of course this happened outside the 2 year guarantee period. I contacted Salomon, who said “our boots have a 2 year guarantee”, into which read the subtext “…because they disintegrate after that”. As a result, the right boot has a noticeably softer backwards flex which directly affects on-piste performance, and it’s entirely possible that the boot could fail catastrophically at some point. The crack has progressed rather too far for preventative measures (such as drilling a hole to stop it spreading further) to help much, so these will have to head to the bin and I’ll need to shell out for some new boots for next season; I won’t be buying Salomons.